V2H (Vehicle-to-Home) RV Guide: Using Your Camper as a Backup Generator

Why allow a massive 10kWh LiFePO4 battery bank to hibernate uselessly in your driveway during the winter? Through the miracle of Vehicle-to-Home (V2H) integration, your modern camper instantly transforms into a silent, solar-replenished backup generator capable of powering your entire household during crippling grid failures. This expanded engineering guide covers the precise wiring methodologies, safety protocols, and economic justifications for turning your RV into a dual-purpose energy asset.
Severe weather events and aging infrastructure have made grid outages an unavoidable reality of modern life. Homeowners often resort to noisy, maintenance-heavy gasoline generators that pollute the neighborhood and require constant refueling. However, if you own a highly-capable off-grid RV, Skoolie, or expedition van manufactured (or upgraded) around the 2026 standard, you already possess a commercial-grade micro-utility plant parked directly outside your door. That 400Ah lithium bank, 3000W inverter, and 800W of rooftop solar represent an investment that sits idle for 90% of the year. It's time to change that.
The concept of using an RV as a home backup power source isn't new, people have been jury-rigging extension cords for decades. But the 2026 landscape offers something far more elegant and, crucially, far safer: integrated transfer switches, dynamic neutral-ground bonding management, and high-voltage DC coupling that allows your RV's solar array to actively recharge the house battery *while* it powers your home. This isn't just about surviving a blackout; it's about turning a depreciating asset (the RV) into a dual-purpose energy investment that pays dividends every time the grid flickers.
What is V2H Completely Decoupled from EVs?
While the automotive industry popularized V2H (Vehicle-to-Home) regarding electric vehicles like the Ford F-150 Lightning, the off-grid RV community has perfected it. RVs feature an immense advantage over standard EVs: they not only store massive amounts of energy in their lithium arrays, but they also possess on-board generation capabilities, roof-mounted solar arrays and high-output secondary alternators. An EV is a battery on wheels. An RV is a battery, a solar farm, and a generator all wrapped into one mobile package.
This means your RV isn't just a battery, it is a continuous power plant. By connecting the robust 3000W+ pure-sine-wave inverter of your autocaravan directly to your home's electrical panel via a certified Transfer Switch, you can keep home freezers frozen, well pumps running, and fiber internet active indefinitely, while the camper's solar panels silently recharge the system every afternoon. In a prolonged outage, this is the difference between salvaging $500 worth of food and losing it all, or between working remotely and burning vacation days.
Consider the energy math: A typical home's critical loads (refrigerator, freezer, internet router, a few LED lights, and the furnace blower) consume about 1.5 to 2.5 kWh per day. A well-equipped RV with a 400Ah lithium battery bank at 12V stores roughly 5.1 kWh of usable energy (assuming 80% depth of discharge). That's two full days of autonomy without any solar input. Add a 600W solar array on the RV roof, and on a sunny winter day you can harvest 2-3 kWh, effectively offsetting the daily consumption and extending runtime indefinitely. You've just turned your driveway ornament into a self-sustaining microgrid.
🔌 RV V2H Advantages
- • Zero Operating Noise: No roaring 80dB gas combustion engines annoying the neighborhood. Your inverter's cooling fan is the only sound, typically under 40 dB.
- • Fuel Independence: Powered by the sun and battery storage; immune to regional gasoline shortages during disasters. No more waiting in line at the gas station with jerry cans.
- • Pure Sine Quality: High-end RV inverters provide considerably cleaner electricity than portable generators, safeguarding sensitive home electronics like computers and medical equipment.
- • Mobile Asset Utilization: Your RV's expensive lithium bank and solar array earn their keep year-round, improving the overall ROI of your off-grid investment.
- • Redundancy: If the RV's battery runs low, you can start the RV's engine and use the secondary alternator (or a built-in generator) to recharge the house bank while still powering the home.
⚠️ Technical Roadblocks & Solutions
- • Neutral-Ground Bonding: You must properly configure your RV inverter to drop its internal bond when connected to the home's main grounded panel. Solution: Use an inverter with configurable ground relay (Victron, Magnum) or install a manual bonding switch.
- • Split-Phase Complexity: Running 240V home appliances (dryers/well pumps) requires dual-inverter setups or dedicated 120V/240V auto-transformers. Solution: Use a Victron Autotransformer or limit V2H to 120V critical loads only.
- • Transfer Switch Cost: A proper manual transfer switch and inlet box installation by a licensed electrician costs $500-$1,200. This is a one-time infrastructure investment that adds value to your home.
- • Cable Management: Running a 50-amp RV cord through a window or under a garage door is inconvenient and a security risk. Solution: Install a weatherproof inlet box on the exterior of your home near the RV parking spot.
The Safe Architecture: How to Wire It Properly
DO NOT use "suicide cords" (double-male plugs). Pushing power backward into a standard wall outlet is highly illegal, deadly to utility linemen repairing the grid, and poses an immense fire hazard. This cannot be overstated. A double-male cord energizes the prongs of the plug when connected to the RV, creating a lethal shock risk. It also backfeeds the grid, endangering line workers who assume the lines are de-energized.
The only NFPA-compliant and safe mechanism to actualize a V2H bridge involves installing a Manual Transfer Switch or an Interlock Kit directly on your home's main breaker panel. Both methods achieve the same goal: they physically prevent the main grid breaker and the generator (RV) breaker from being "ON" simultaneously. This ensures that power can only flow from the RV to your home's circuits, never back to the utility lines.
Method A: Interlock Kit. This is the most cost-effective solution. A sliding metal plate is installed on your breaker panel cover. The plate mechanically blocks the main breaker from being turned on while the "Generator" breaker is on, and vice versa. You manually flip the main breaker off, slide the interlock, and flip the generator breaker on. This method allows you to power *any* circuit in your panel, but you must manually manage loads to avoid overloading the RV's inverter.
Method B: Dedicated Manual Transfer Switch. This is a separate sub-panel installed next to your main panel. You select 6-10 critical circuits (fridge, freezer, lights, furnace, internet) and move their wires from the main panel to the transfer switch. During an outage, you flip a single switch on the transfer box, and those circuits are now powered by the RV inlet. This is simpler to operate and prevents accidental overload, but it limits you to the pre-selected circuits.
In both cases, you'll need an exterior Power Inlet Box (NEMA L14-30 for 30A RVs, or NEMA SS2-50 for 50A RVs) mounted on the outside of your house near where you park the RV. During an outage, you simply take your heavy-duty RV shore power cord, plug one end into the RV's output (or the pedestal-style outlet if your RV has a built-in generator output), and the other end into the house inlet box. Then you manage the transfer switch or interlock, and your home is running on the RV.
| Required Home Feature | Inverter Requirement | Can an RV Power It? | Runtime Estimate (5kWh Battery) |
|---|---|---|---|
| Fridge, Lights, Router, TV (120V) | Standard 2000W-3000W Inverter | Easily (Days/Weeks) | ~48-72 hours (no solar) |
| Natural Gas Furnace Blower (120V) | Standard 3000W Inverter (surge capacity important) | Yes (critical for winter) | ~36-48 hours (no solar) |
| Submersible Well Pump (240V, 1HP) | Split-phase 240V Inverter or Autotransformer | Requires Advanced Setup | ~2-3 hours of pumping |
| Central Home AC (240V / HUGE Surge) | Massive 8000W+ capability and Soft Starts | Not Recommended | < 1 hour (battery drain extreme) |
| Electric Water Heater (240V) | Split-phase 240V Inverter | Not Recommended (High Drain) | < 30 minutes |
The Neutral-Ground Bonding Puzzle: Solving the GFCI Nightmare
This is the #1 technical hurdle that causes V2H setups to fail or, worse, become dangerous. In a standard home electrical system, the Neutral and Ground wires are bonded (connected) at the main service panel. This provides a safe path for fault current to trip a breaker. In an RV operating off-grid, the inverter creates its own Neutral-Ground bond internally to ensure the RV's GFCI outlets function correctly.
When you plug your RV into a house that *already* has a Neutral-Ground bond, you now have two bonds in the system. This creates a "ground loop" and can cause GFCI breakers to trip instantly or, in some cases, prevent the inverter from transferring power at all. Furthermore, if the RV's bond remains while connected to the house, and the house's ground is compromised, the RV chassis could become energized, a serious shock hazard.
The solution depends on your inverter. Premium inverter/chargers like those from Victron (MultiPlus, Quattro) have a programmable "Ground Relay" setting. When set to "Inverter Mode Only," the inverter creates the bond only when operating off-grid. When it senses AC input (like from the house via the transfer switch), it *opens* the bond relay, relying on the house's bond. This is the correct, safe configuration. If your inverter lacks this setting, you must install a manual bonding switch or use a "bonding plug" that you insert into the RV's outlet when off-grid and remove when connected to the house. Label this plug clearly: "REMOVE BEFORE CONNECTING TO SHORE POWER." Failure to manage this bond is the leading cause of V2H frustration and electrical noise.
Split-Phase 240V: Running the Big Stuff
Most RVs operate on 120V single-phase power. But many home appliances, well pumps, electric dryers, central AC condensers, require 240V split-phase. How do you power these from an RV? You have two options.
Option 1: Dual Inverters in Split-Phase Configuration. Some high-end RVs (especially 50-amp fifth wheels and luxury motorhomes) are equipped with two identical inverters configured to produce 120/240V split-phase power. In this setup, one inverter produces one "leg" of 120V, and the other produces the opposite leg, 180 degrees out of phase. The RV's 50-amp outlet then provides true 240V. If your RV has this, you can power 240V home loads directly, provided you manage the load carefully.
Option 2: Autotransformer. If your RV has only a single 120V inverter but you need to power a 240V well pump, you can use a Victron Autotransformer. This device takes 120V input and creates a balanced 120/240V split-phase output. However, the power available at 240V is limited by the 120V inverter's capacity. A 3000W inverter can only deliver about 25A at 120V, which translates to roughly 12.5A at 240V, enough for a small 1/2 HP well pump, but not for a large deep-well pump. The autotransformer also has a continuous neutral current limit, so unbalanced 120V loads must be monitored.
For most homeowners, the pragmatic approach is to limit V2H usage to 120V critical loads only. The convenience of running the well pump from the RV is often outweighed by the complexity and cost of the necessary equipment. A simple workaround: fill bathtubs and buckets with water before the storm hits, and use that for toilet flushing and washing during the outage.
The Economic ROI of Dual-Purpose Energy
Building a premium off-grid power setup in an RV can easily exceed $5,000 for components alone. When you divide that astronomical cost strictly by the weeks you spend traveling, the ROI appears dismal. However, when you re-categorize this investment to include "Whole-Home Emergency Backup System", displacing the need to purchase a dedicated $3,000 Generac generator or a $9,000 Tesla Powerwall, the true macroeconomic brilliance of V2H shines.
Let's run the numbers. A Generac Guardian 22kW standby generator costs about $5,000 installed, plus $300-$500 annually for maintenance and exercise fuel. Over 10 years, that's $8,000-$10,000 total cost of ownership. A Tesla Powerwall 3 costs around $8,000 installed (after incentives) and provides 13.5 kWh of backup. An RV lithium/solar upgrade, say, a Victron MultiPlus 3000, 400Ah of LiFePO4, and 600W of solar, costs roughly $6,000 in parts. If you were already planning this upgrade for your RV travels, the incremental cost to add V2H capability (a transfer switch and inlet box, ~$800) is minimal.
From this perspective, your RV's power system is effectively a heavily subsidized home backup solution. You get to enjoy silent, solar-recharged power during outages, and the system pays for itself by displacing a dedicated generator purchase. Plus, unlike a fixed generator, your RV power system goes on vacation with you, providing value year-round. It's a rare case where a luxury purchase (the RV upgrade) actually strengthens your household resilience and can be partially justified as a home improvement expense.
⚡ Grounding Pro-Tip: Dynamic vs. Static Bonding
Modern smart RV inverters (Victron MultiPlus-II, Magnum MSH series) typically link the Neutral and Ground wire together automatically when operating off-grid, and open that connection when shore power is detected. A house panel already connects Neutral to Ground at the main service entrance. Having TWO connection points creates dangerous "ground loops" that can cause GFCI tripping and, in rare cases, shock hazards. You must assure your RV inverter handles dynamic neutral-ground switching before linking it to a residential supply. Consult your inverter's manual for the "Ground Relay" setting. If in doubt, hire a qualified RV electrician to verify the bond configuration.
Additionally, consider installing a Surge Protective Device (SPD) at your home's inlet box. When the grid comes back online, there can be a voltage spike that could damage your RV's sensitive electronics. A quality SPD is cheap insurance.
Real-World Scenario: 48-Hour Winter Outage
Let's walk through a realistic scenario to illustrate the V2H workflow. It's January, and an ice storm knocks out power to your suburban home at 8 PM. Temperature is 28°F. You have a 2026 Winnebago Travato parked in the driveway with a 400Ah lithium bank (5.1 kWh usable) and 600W of flat-mounted solar.
8:00 PM - Outage Begins. You grab the RV shore cord, plug it into the house inlet box, and flip the interlock. The house's critical loads, fridge, freezer, furnace blower, internet router, and a few LED lights, are now running on the RV's inverter. Current draw is about 400W continuous (fridge and freezer cycling). Battery is at 95% SOC.
8:00 AM - Morning. Overnight consumption was 4.8 kWh (400W x 12 hours). Battery is at 10% SOC (low, but not critically depleted). The sun is rising, but it's overcast. The 600W solar array is producing only 80W. You decide to start the RV's engine and let the secondary alternator run for 30 minutes. The Nations 280A alternator pushes 150A at 14V into the house bank, adding roughly 2.1 kWh in half an hour. Battery back to 50% SOC.
12:00 PM - Solar Gains. Clouds thin out. Solar production rises to 300W. Over the next 5 hours, the array harvests 1.5 kWh, pushing the battery to 75% SOC by 5 PM. You've made it through the day without running the engine again.
Day 2 - Repeat. The pattern continues. With careful load management (turning off the furnace blower during the warmest part of the day, minimizing fridge openings), you can stretch the battery. By the time grid power is restored 48 hours later, the RV battery is at 30% SOC, low, but well above the 10% critical threshold. No food spoiled, no frozen pipes, and you slept comfortably. This is the power of a well-executed V2H strategy.
Maintenance and Testing: Don't Wait for the Outage
A V2H system that hasn't been tested is a V2H system that will fail when you need it most. Implement a quarterly testing routine:
- Simulate an Outage: Turn off the main breaker, connect the RV, and verify that the transfer switch powers the selected circuits. Run for 30 minutes to ensure the inverter doesn't overheat or trip.
- Check Battery Health: Use your battery monitor to verify capacity hasn't degraded. A 400Ah bank that's actually 320Ah due to aging will leave you stranded.
- Inspect Connections: Look for corrosion on the inlet box prongs and the RV cord ends. Clean with electrical contact cleaner annually.
- Update Firmware: If your inverter or battery BMS has updatable firmware, ensure it's on the latest version. Manufacturers often release updates that improve grid-interactive behavior.
By treating your RV's V2H capability as a critical home system rather than an occasional convenience, you ensure it's ready when the lights go out. The peace of mind that comes from knowing you have a silent, solar-powered backup plan is worth the small amount of regular maintenance.
Technical Expansion
Deepen your expertise with our most critical recent diagnostic reports.

V2L Masterclass: How to Power Your RV with a Ford F-150 Lightning or Cybertruck (2026 Guide)
Unlock the potential of Vehicle-to-Load (V2L) technology. Learn how to use your EV truck as a silent, high-capacity mobile power plant for your RV without generators or fuel.
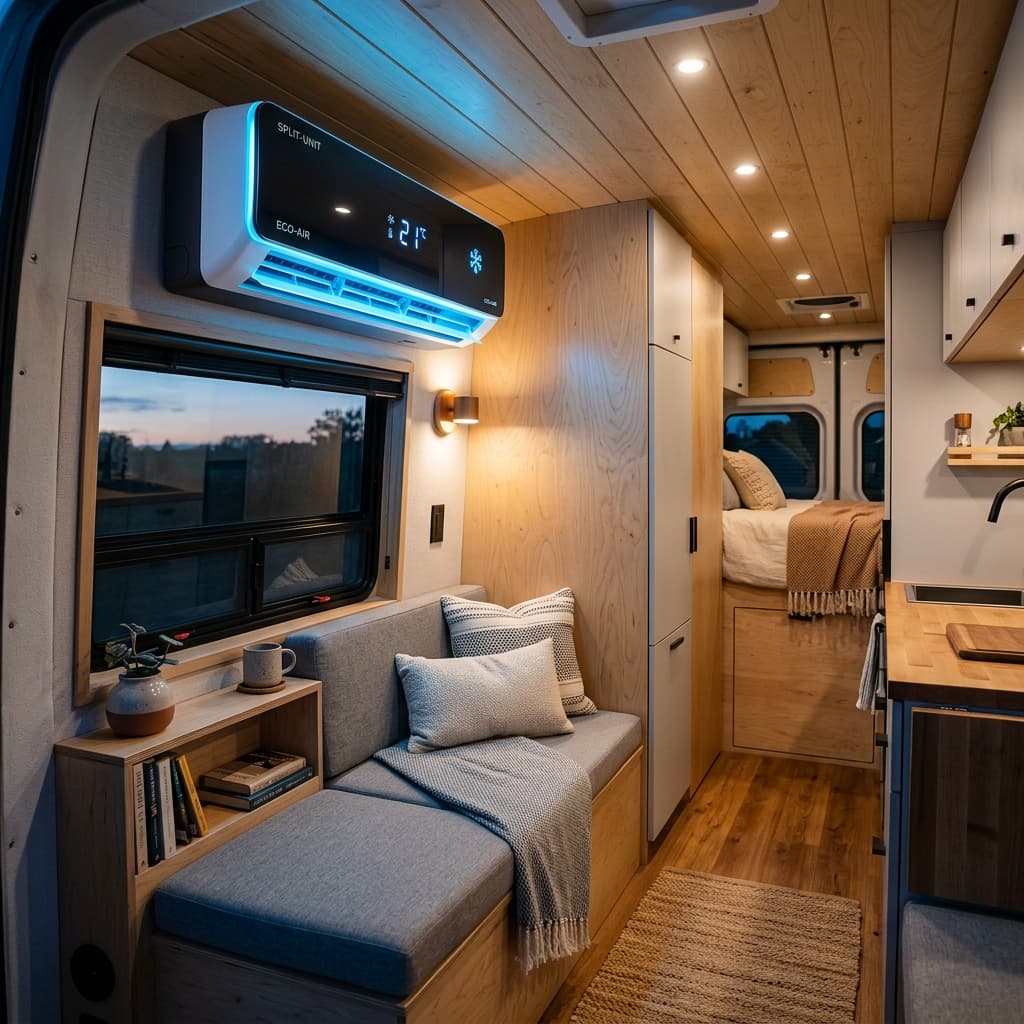
The Off-Grid A/C Masterclass: How to Stay Cool Without a Plug
Standard RV electrical systems were never engineered to run air conditioning off-grid. This extensive technical brief dissects the precise engineering challenge...
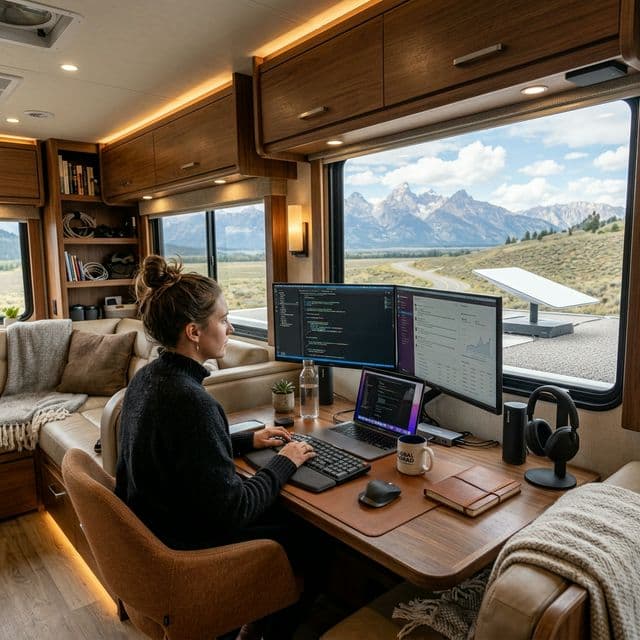
The Digital Nomad Power Audit: Calculating Solar for Starlink and Pro-Grade Gear in 2026
Digital nomad RV power audit: Running Starlink and high-end laptops 24/7. Learn the daily Ah math and native DC conversion physics.