The Off-Grid A/C Masterclass: How to Stay Cool Without a Plug
Standard RV electrical systems were never engineered to run air conditioning off-grid. This extensive technical brief dissects the precise engineering challenges outlined in the 'Advice for powering AC unit!' Reddit archives, providing a rigorous, component-level methodology for constructing a robust off-grid solar infrastructure capable of silent, autonomous AC operation.
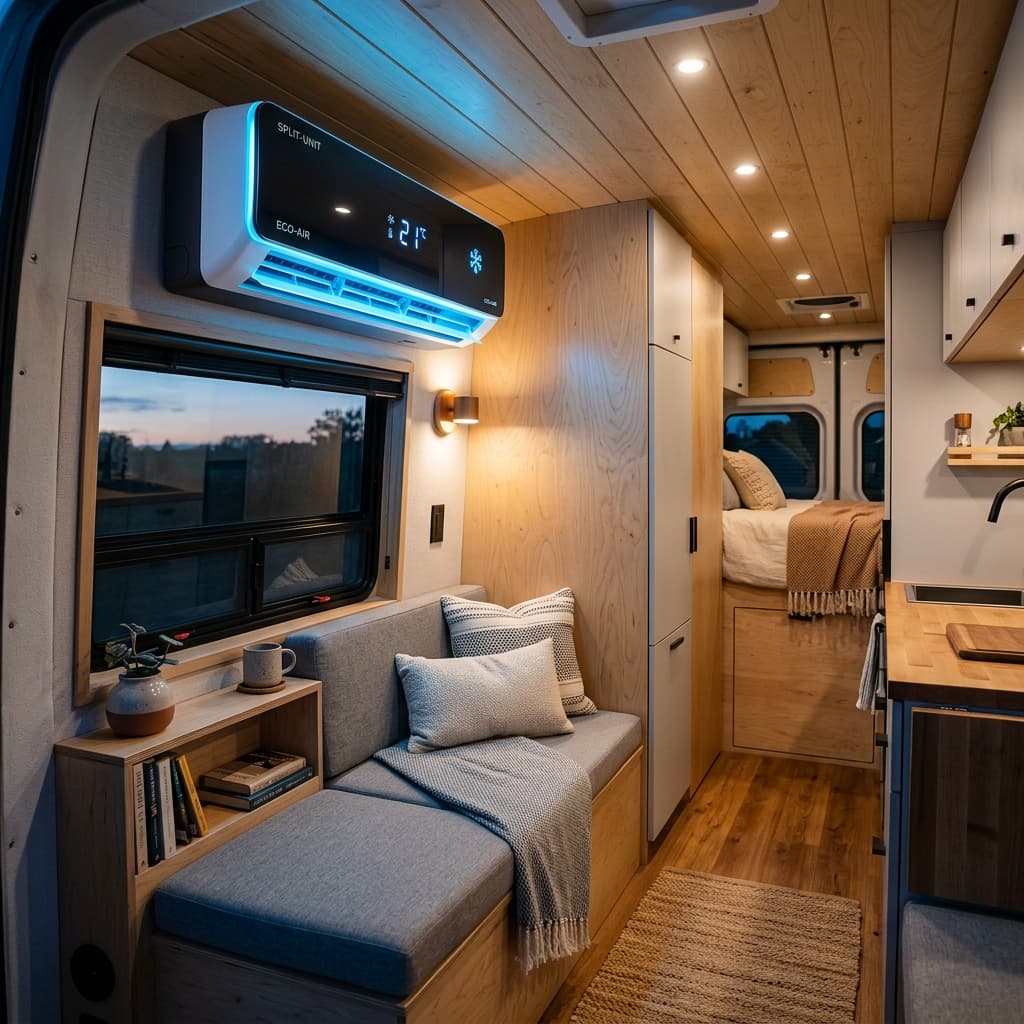
The Cold, Hard Reality of Off-Grid AC
The most common bottlenecking issue in the RV solar community, as endlessly chronicled in forums like Reddit's r/vandwellers and r/solarDIY, is the stark disconnect between idealistic solar setups and the brutal power demands of roof-mounted air conditioners. A standard 13.5k BTU Dometic or Coleman unit can consume 1,600–1,800 watts per hour while running, and presents a terrifying locked-rotor amp (LRA) surge of 4,000 to 6,000 watts on startup. Most DIYers severely underestimate this.
In 2026, the baseline expectations for off-grid electrical systems have shifted dramatically. Lead-acid batteries are obsolete for high-drain AC loads. Passive battery balancers are being replaced by active management systems. High-frequency inverters are making way for Gallium Nitride (GaN) topologies. This guide serves as a masterclass in system engineering, moving beyond guesswork into verifiable, safe, and scalable installation practices tailored specifically for powering an AC unit in a mobile environment.
Phase 1: The Pre-Purchase Reality Check (The Math)
Before purchasing a single solar panel or battery cell, you must calculate the exact energy budget. The mistake most Reddit users make is conflating surge capacity with sustained output. An inverter must handle the surge; a battery bank must handle the sustained drain.
Critical Load Calculation Table
Using a 15,000 BTU AC unit (high-efficiency 2026 model) as our baseline:
| Component | Running Watts | Surge Watts | Daily Hours | Daily Wh Needed |
|---|---|---|---|---|
| 15k BTU AC Unit | 1,500 | 4,500 | 8 | 12,000 |
| Fridge (12V Compressor) | 60 | 120 | 24 | 1,440 |
| Lights & Electronics | 50 | — | 6 | 300 |
| Total Requirement | 1,610 | 4,620 | — | 13,740 Wh |
To run this system for one day without solar input, you need a usable battery capacity of 13.74 kWh. Accounting for inverter inefficiency (85-90%) and DoD limits (80% for LFP, 100% for Sodium-Ion), your raw battery bank must be significantly larger. A 48V 300Ah LiFePO4 bank (14.4 kWh) hits this target specifically.
⚠️ The Reddit Pitfall
Many assume a 2000W inverter is sufficient. While a 2000W inverter may *run* an AC, it cannot reliably *start* a 4500W+ surge. This causes immediate overcurrent shut down, or worse, permanent damage to the inverter's MOSFETs. Always size your inverter for the surge, not the running wattage.
Phase 2: Safety Architecture & Wire Sizing
Safety is not a checklist; it is a design philosophy. High-current DC systems are unforgiving. A short circuit in a 48V bank can vaporize a tool and start a fire in milliseconds. Every connection must be torqued to spec, every cable must be fused at the source.
Wire Gauge & Overcurrent Protection Table (DC Side)
| System Voltage | Max Current (Inverter) | Wire Length < 5ft | Wire Length 5-10ft | Class-T Fuse |
|---|---|---|---|---|
| 12V | 300A (3.6kW) | 4/0 AWG | 4/0 AWG (Marginal) | 300A |
| 24V | 150A (3.6kW) | 2/0 AWG | 4/0 AWG | 200A |
| 48V | 75A (3.6kW) | 4 AWG | 2 AWG | 100A |
Mandatory Safety Protocols
- Class-T Fusing: Mandatory on battery terminals. Unlike ANL fuses, Class-T fuses can interrupt the massive short-circuit currents of a LiFePO4 bank (10,000A+).
- Battery Disconnect: Install a Blue Sea Systems HD switch or a Victron BatteryProtect on the battery output for emergency shutdowns.
- Torque Wrench: All busbar and breaker connections must be torqued to manufacturer specs. Loose connections cause arcing and fire.
- Grounding: Establish a single-point ground bond between the inverter chassis, battery negative, and vehicle chassis to prevent ground loops.
Phase 3: The Component Specification Sheet
Tools of the Trade
| Tool | Purpose | 2026 Recommendation |
|---|---|---|
| Hydraulic Crimper | Crimping 2/0 AWG + lugs | Die-set 10-50mm² |
| Thermal Imaging Camera | Detecting hot connections under load | FLIR or Hti-Xintai |
| Clamp Meter (DC) | Verifying current flow & load balance | Uni-T or Fluke 393 |
| Insulated Tools | Working on live 48V/120V circuits | VDE Certified 1000V |
Component Bill of Materials (BoM) for 15k BTU AC
| Component | Specification | Critical Notes |
|---|---|---|
| Solar Array | 2,000W+ (Residential 400W panels) | High voltage input (150-450V) for MPPT |
| Charge Controller | Victron MPPT 250/100 | Ensures 48V bank charging |
| Battery Bank | 48V 300Ah (14.4 kWh) LiFePO4 | Must have active cell balancing & heating |
| Inverter | 5000W Low-Frequency / GaN Hybrid | Pure sine wave. 10,000W surge peak |
| Soft Starter | Micro-Air EasyStart 368 | Reduces AC surge from 50A to ~18A |
| Monitoring | Victron Cerbo GX + GX Touch | Real-time SOC, load, and trending |
Phase 4: High-Precision Installation Workflow
Step 1: Photovoltaic Array Deployment
Mount panels using stainless steel brackets penetrating the roof structure, not just glued down. Seal every penetration with butyl tape and Dicor self-leveling lap sealant. Wire the panels in series to achieve a Voc >100V, which keeps current low and voltage drop negligible. An array of 6x 370W residential panels (2,220W total) is the minimum viable target for daily AC runtime in the Southwest.
Step 2: The MPPT Brain Transplant
Mount the charge controller vertically on a metal backplate near the battery bank to minimize DC cable runs. Program the controller for your specific battery chemistry (LiFePO4 requires bulk/absorption/float settings: 56.8V/56.8V/54.0V). Use the Victron VE.Direct cable to link the MPPT to your Cerbo GX for data acquisition.
Step 3: Battery Bank Integration (48V Architecture)
For systems exceeding 3,000W of inverter capacity, 48V is non-negotiable. A 48V 300Ah bank stores 14.4kWh. Wire batteries in series using a busbar system (e.g., Victron Lynx Distributor). Install the Class-T fuse holder within 7 inches of the battery positive terminal. Connect the BMS communication cable to the inverter/cerbo for SOC monitoring.
Step 4: Inverter & Soft Start Installation
Mount the inverter in a ventilated, dust-free compartment. Wiring sequence: Battery -> Class-T Fuse -> Inverter Disconnect -> Inverter. Do NOT daisy-chain inverters. Install the Micro-Air EasyStart directly into the AC unit's wiring compartment. The EasyStart analyzes the compressor load and ramps the frequency up slowly, effectively eliminating the instantaneous locked-rotor surge.
⚡ Wiring Topology (Series/Parallel Narrative)
PV Array (Series) → MC4 Disconnect → MPPT Charger → Lynx Distributor (Positive Bus) → Class-T Fuse → 48V Battery Bank Negative → Lynx Bus (Negative) → Inverter → AC Breaker Panel → EasyStart → AC Unit.
This layout minimizes resistance loops and ensures every component is serviceable individually.
Phase 5: Comparative Analysis of Power Architectures
Lithium (LiFePO4) vs. Sodium-Ion (Na-Ion) for AC
✅ LiFePO4 Advantages
Higher energy density (90-120 Wh/kg), mature recycling infrastructure, and very low internal resistance for high surge currents (ideal for AC startup).
❌ LiFePO4 Disadvantages
Requires temperature management (<
Technical Expansion
Deepen your expertise with our most critical recent diagnostic reports.

V2L Masterclass: How to Power Your RV with a Ford F-150 Lightning or Cybertruck (2026 Guide)
Unlock the potential of Vehicle-to-Load (V2L) technology. Learn how to use your EV truck as a silent, high-capacity mobile power plant for your RV without generators or fuel.

V2H (Vehicle-to-Home) RV Guide: Using Your Camper as a Backup Generator
Don't let your RV battery sit idle. Learn how to configure a V2H (Vehicle-to-Home) system to use your camper's massive solar and lithium bank as an emergency house backup generator.
The Digital Nomad Power Audit: Calculating Solar for Starlink and Pro-Grade Gear in 2026
Digital nomad RV power audit: Running Starlink and high-end laptops 24/7. Learn the daily Ah math and native DC conversion physics.